How to Re-Stretch a Canvas
Master the art of canvas stretching with this comprehensive guide.

At SE1 Picture Frames we are experienced in re-stretching canvases. This is often required when a work on canvas needs to travel. Often, the best way to transport the canvas is to take it off the stretcher and roll the canvas in a tube for transport. Understanding the nuances of canvas re-stretching can greatly enhance the longevity and appearance of your artwork. This guide will walk you through the entire process, emphasising the importance of choosing the right stretcher bars, ensuring squareness, and handling large stretchers. For professional canvas stretching services, remember to visit SE1 Picture Frames.

Understanding Stretcher Bars
Types of Stretcher Bars
- Standard pinned Bars: good for small basic canvases. Not so good for keeping the canvas square and tight.
- Professional, slotted Stretchers: These stretcher bars are much better and feature slots for easy insertion of cross bars. At SE1 Picture Frames, we only use slotted stretchers with cross bars when re-stretching a work on canvas. These stretchers ensure squareness and the correct tension.
Importance of Cross Bars
Cross bars provide additional support to the canvas, preventing sagging. They are essential for large canvases and can be easily added to slotted stretchers.
Different Depths of Stretchers
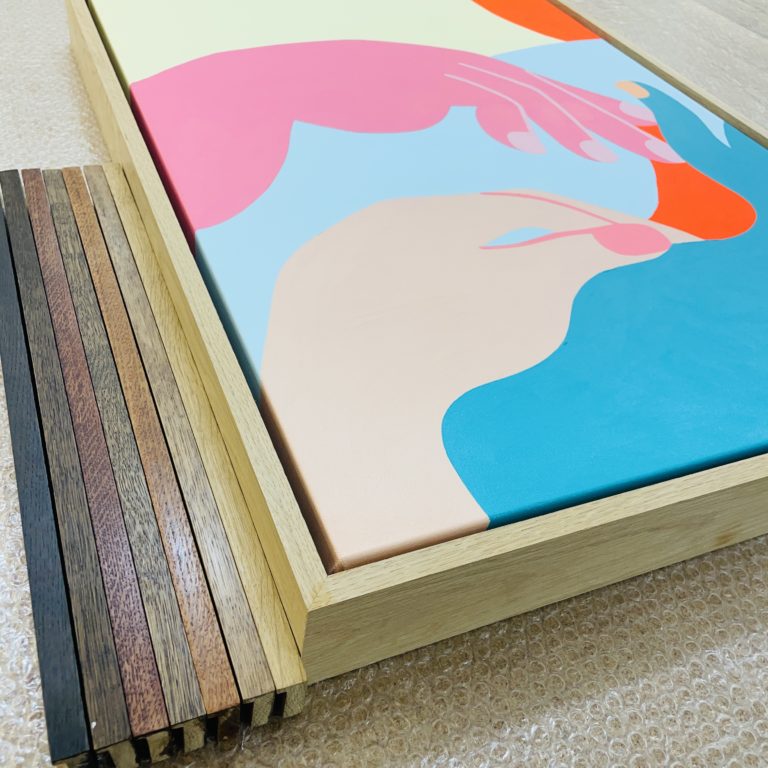
Stretcher bars come in various depths, affecting the canvas’s protrusion from the wall. Choose the depth based on your desired aesthetic and the size of the canvas. Also, consider whether the canvas will be mounted into a tray frame and if the canvas was previously stretched try to keep the same depth stretcher bars.
Preparing to Stretch the Canvas
Materials Needed
- Canvas
- Stretcher bars
- Staples or tacks
- Staple gun or hammer
- Canvas pliers
- Square or ruler
Assembling the Stretcher Frame
- Choosing the Right Size: At SE1 we carefully measure the canvas, taking into account where the previous stretcher bars sat and, depth of stretcher bars and whether there is any elasticity in the canvas. Ensure the stretcher bars fit the dimensions of the canvas.
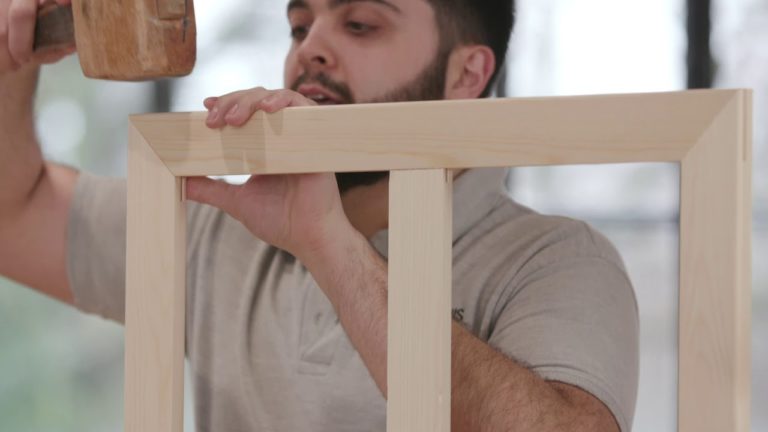
- Assembly: Connect the stretcher bars by interlocking their ends. This video is a good guid to help you assemble the canvas on the stretcher.
- Ensuring Squareness: Use a square or ruler to check the angles and adjust as necessary. This video is a good guid to help you get the stretcher Square.
For a professional service, consider our canvas stretching services.
Stretching the Canvas
The Process
- Laying Out the Canvas: Place the canvas on a clean, flat surface, facing down.
- Centering the Frame: Place the stretcher frame on the canvas, ensuring it is centred and lies neatly on the creases of the canvas where the previous stretcher was.
- Stapling the Canvas: Start stapling from the centre of each side and work towards the corners. This ensure correct, even tension
- Maintaining Tension: Use canvas pliers to grip and pull the canvas taut as you staple. Wedges are then tapped into the back of the stretcher and tapped with a small toffee hammer to get the correct tension.
Tips for a Smooth Stretch
- Even Tension: Ensure the canvas is uniformly tight across the stretcher frame.
- Avoiding Overstretching: Too much tension can warp the frame.
- Securing the Corners: We always fold the corners neatly for a professional finish.
Handling Large Stretchers
Special Considerations
- Extra Support: Use cross bars for added stability.
- Teamwork: Large canvases often require more than one person for an even stretch.
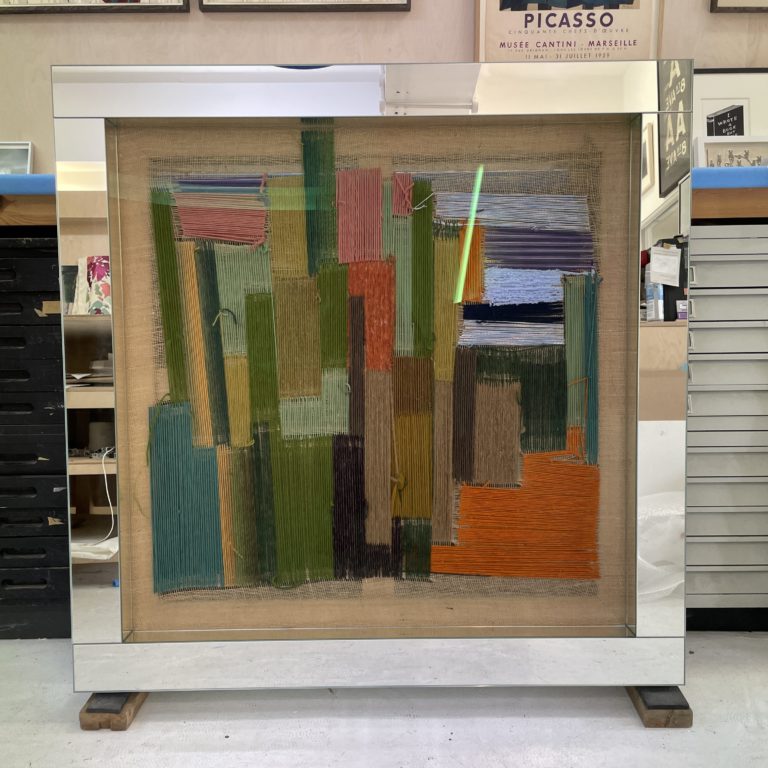
- Professional Assistance: For extremely large canvases, consider enlisting professional help from SE1 Picture Frames. We have a large workshop to accommodate large canvases up to sizes of 3meters x 4meters.
Over the years SE1 Picture Frames have stretched and re-stretched hundreds of canvases. Most recently we helped with the stretching and framing of a Solo show of Andrew Salgado at Saatchi Gallery. Andrew’s show “Tomorrow i’ll be Perfect” runs until the 7th of January 2024.
Conclusion
Re-stretching a canvas correctly is essential for displaying and preserving your artwork. By following these steps and understanding the importance of each element, from slotted stretchers to the correct tension of the canvas, you can ensure a professional and lasting result.
For those seeking expert assistance, remember to visit SE1 Picture Frames for top-notch canvas stretching services.
How to Stretch a Canvas FAQ
What are the different types of stretcher bars?
• Standard pinned bars: Suitable for small, basic canvases.
• Professional, slotted stretchers: Better for ensuring squareness and correct tension, especially with cross bars
Why are cross bars important in canvas stretching?
They provide additional support to prevent sagging, essential for large canvases
What materials are needed to stretch a canvas?
Canvas, stretcher bars, staples or tacks, staple gun or hammer, canvas pliers, and a square or ruler
How do you assemble a stretcher frame for a canvas?
Choose stretcher bars that fit the canvas dimensions, interlock their ends, and ensure squareness using a square or ruler
What is the process for stretching the canvas?
Lay the canvas face down on a flat surface, centre the stretcher frame on it, staple from the centre
outward, and maintain tension using canvas pliers
Are there any special considerations for handling large stretchers?
Large canvases require extra support like cross bars, teamwork for an even stretch, and possibly professional assistance for extremely large canvases
Why is it essential to stretch a canvas correctly?
Proper stretching is vital for displaying and preserving artwork, ensuring a professional and lasting result
Address
BY APPOINTMENT ONLY
SE1 Picture Frames, Alaska Buildings,
61 Grange Road, London,
SE1 3BH, United Kingdom
Nearest tube: London Bridge, Bermondsey, Borough
Bus: Number 1 and 78.
Free visitor parking available:
Entrance is via Bacon Grove just off Grange road. Enter the Alaska Buildings through the large electric gate. Push buzzer and speak to security to gain access.
Email Address
Phone Numbers
Contact us
We are usually on site but to avoid disappointment and to allow us plenty of time to discuss your project with you, please contact us and book an appointment before you set off.
On arrival please report to security.
Request a Quote
Please be aware that an accurate quote is usually only possible once we have seen the art work and discussed all possibilities with you. Our standard framing is to conservation standards and this will be reflected in the quote unless otherwise specified.